
The Process
How Excursion SafeCheck Works
A clear, structured six-step process that replaces manual headcounting with a reliable digital attendance and audit system.
Create Your Excursion
Set up the excursion details including destination, date, supervising staff, and custom checkpoints. Define exactly where attendance will be verified throughout the day.
Name the excursion, set the date and time, add all attending staff members, and configure each checkpoint — from departure to arrival and everything in between.
Step 01
Create Your Excursion
Import Your Student List
Upload your class list from your current school management platform and import directly into Excursion SafeCheck. Standard formats are accepted, making it fast and straightforward to prepare your attendance records.
Import via CSV or enter students manually. Each student is linked to the excursion and assigned their own unique QR identity.
Step 02
Import Your Student List
Generate Unique QR Codes
The platform automatically generates a unique QR code for every student. Each code is linked to that student's identity and excursion record.
QR codes are printable on a range of approved wearable formats including safety lanyards, name badges, sticker labels, and bag strap tags.
Step 03
Generate Unique QR Codes
Prepare Wearable QR Options
Print and attach the generated QR codes to your chosen wearable format. Organisations select the option that best aligns with their own safety policies.
Options include break-away safety lanyards, clip-on name badges, adhesive sticker labels, and rigid bag strap tags. All options display the student's name and QR code clearly.
Scan at Every Checkpoint
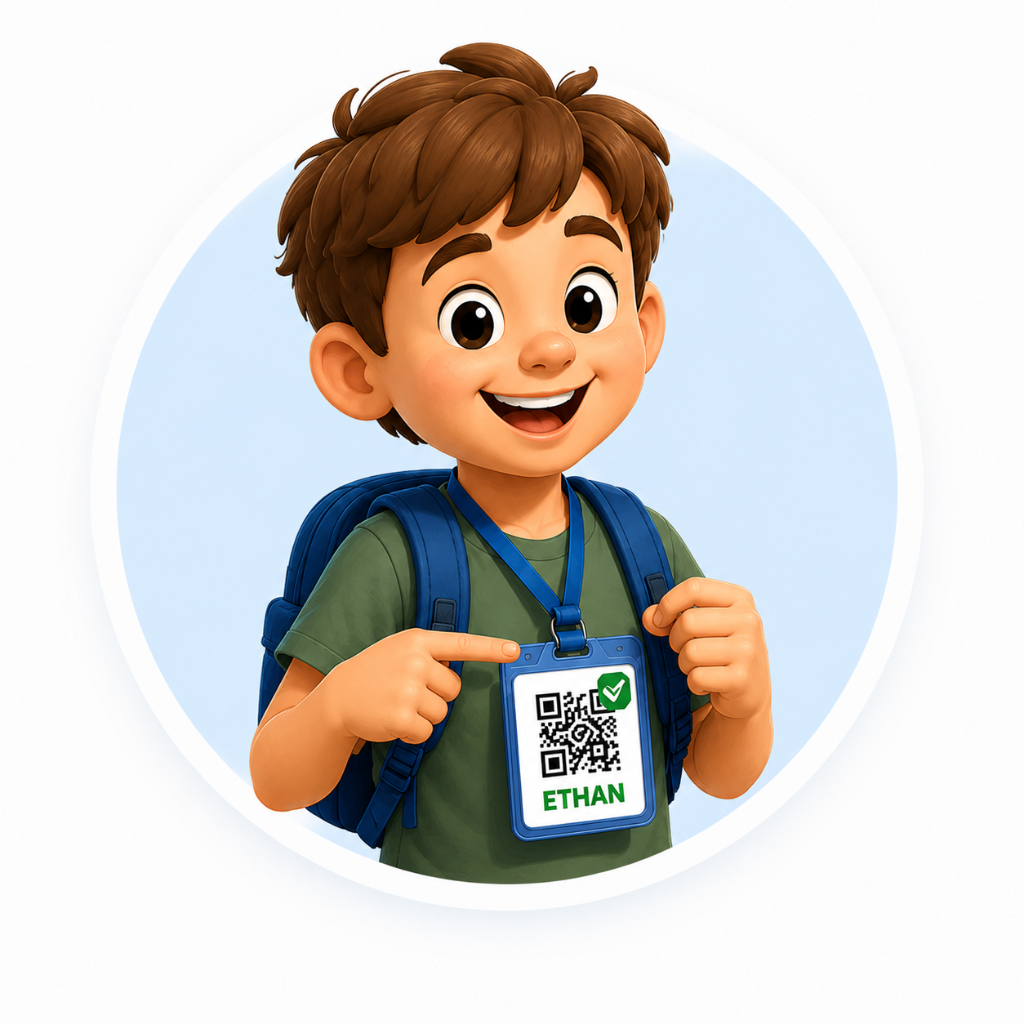
At each defined checkpoint, staff use the Excursion SafeCheck app to scan each student's QR code. Each scan is instantly recorded with a timestamp and staff member identity.
Works on standard smartphones. No specialist hardware required. The app records who scanned, when they scanned, and at which checkpoint — building a continuous digital attendance trail.
Automatic Audit Log Generated
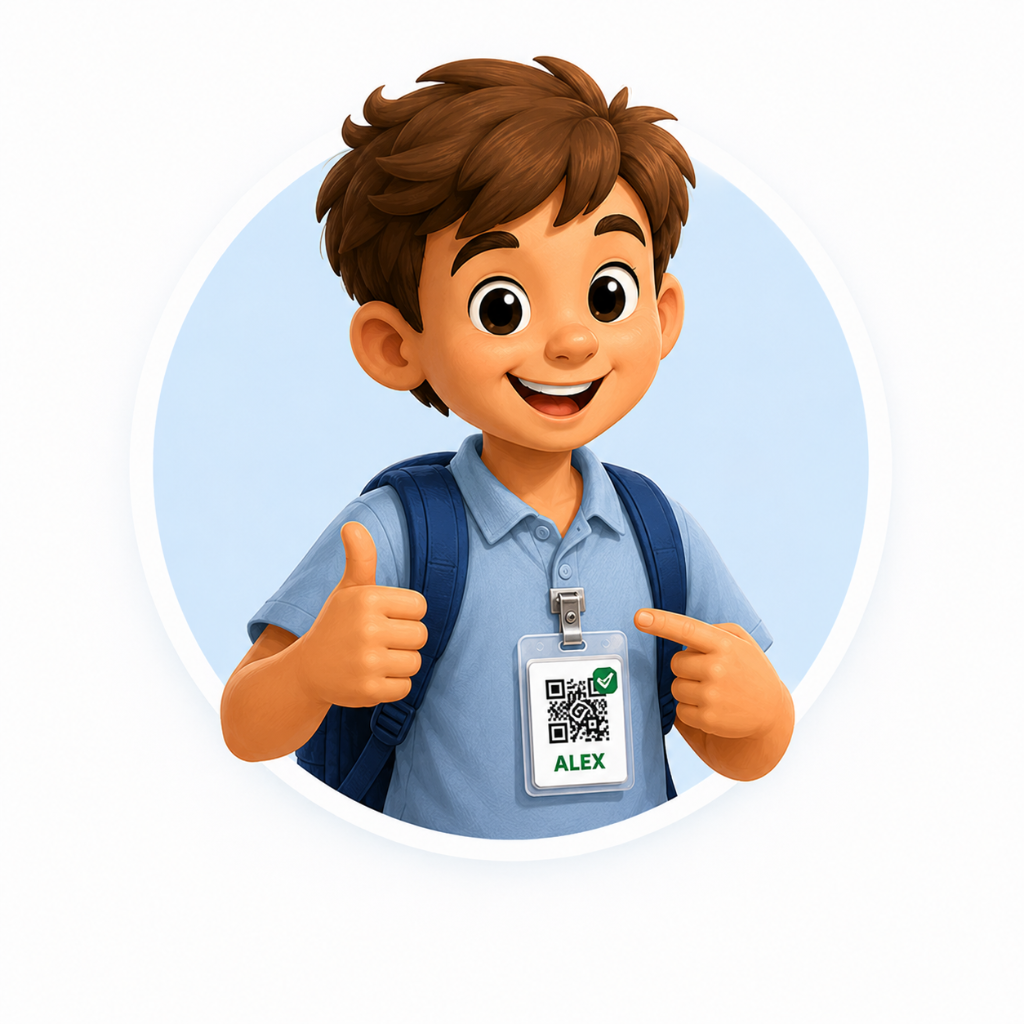
As scans are completed, a complete timestamped audit log is automatically built. At the end of the excursion, a full exportable report is available with a single action.
Export as PDF or CSV. The log includes every scan, every checkpoint, student names, timestamps, staff identifiers, and a complete excursion summary — ready for your records.
Step 06
Automatic Audit Log Generated

Meet Safeko
Your Excursion Safety Guide
Safeko is the Excursion SafeCheck mascot — a friendly koala who represents the platform's mission to help organisations keep every child safe and every excursion well organised.
Join the Pilot ProgramReady to See It in Action?
Book a demonstration and see the full process from excursion creation to audit log export.